Dutch Oven Pulled Pork: Recipes, Tips, and Maintenance
Selecting the proper cut of meat is crucial for achieving tender and flavorful pulled pork. Pork shoulder, also known as pork butt or Boston butt, is the preferred choice. This cut contains a good balance of fat and connective tissue, which breaks down during cooking, resulting in juicy, tender meat. For best results, use a pork shoulder weighing between 3 to 5 pounds.
Must-Have Spices and Seasonings
Spices and seasonings play a vital role in enhancing the flavor of your pulled pork. You will need the following:
- Salt: Balances the flavors.
- Black Pepper: Adds a slight heat.
- Paprika: Contributes a smoky flavor.
- Garlic Powder: Enhances the savory taste.
- Onion Powder: Adds depth to the flavor.
- Brown Sugar: Provides sweetness and caramelization.
- Cumin: Introduces an earthy flavor.
Together, these spices create a well-rounded and robust taste profile. Ensure you evenly coat the meat with the seasoning mix for maximum flavor impact.
Preparing Your Dutch Oven
Seasoning Your Dutch Oven
Season the Dutch oven before use to enhance its non-stick properties and durability. Begin by washing the Dutch oven with mild soap and water to remove any manufacturing residue. Thoroughly dry it afterward.
Next, apply a thin layer of vegetable oil or melted shortening to the entire inner surface. Avoid using butter or olive oil, as these can become sticky when heated. Place the Dutch oven in an oven preheated to 350°F for 1 hour. Turn the Dutch oven upside down and place a baking sheet or aluminum foil on the bottom rack to catch any drips.
Allow the Dutch oven to cool completely in the oven. This process creates a natural, non-stick layer that becomes more effective with repeated use.
Preheating Techniques
Preheating the Dutch oven is crucial for even cooking and optimal results. Start by placing the empty Dutch oven in an oven set to 225°F for about 30 minutes. This gradual heating ensures the Dutch oven’s material can evenly distribute heat, preventing hot spots.
If using a stovetop, heat the Dutch oven over medium heat for about 10 minutes. Place the Dutch oven on the burner with the lid off to allow even heating.
In both methods, checking the temperature of the Dutch oven periodically with an infrared thermometer helps ensure it’s reached the desired temperature range. This step ensures that when you add the seasoned pork shoulder, it sears properly, locking in flavors and juices for tender pulled pork.
The Cooking Process
Browning the Pork
Heat your Dutch oven over medium-high heat for 5 minutes. Add a small amount of oil to the pot, enough to coat the bottom evenly. Once the oil is hot, place the pork shoulder in the Dutch oven. Brown the pork on all sides for 3-4 minutes per side. This step locks in the flavors and creates a rich crust.
Slow Cooking Techniques
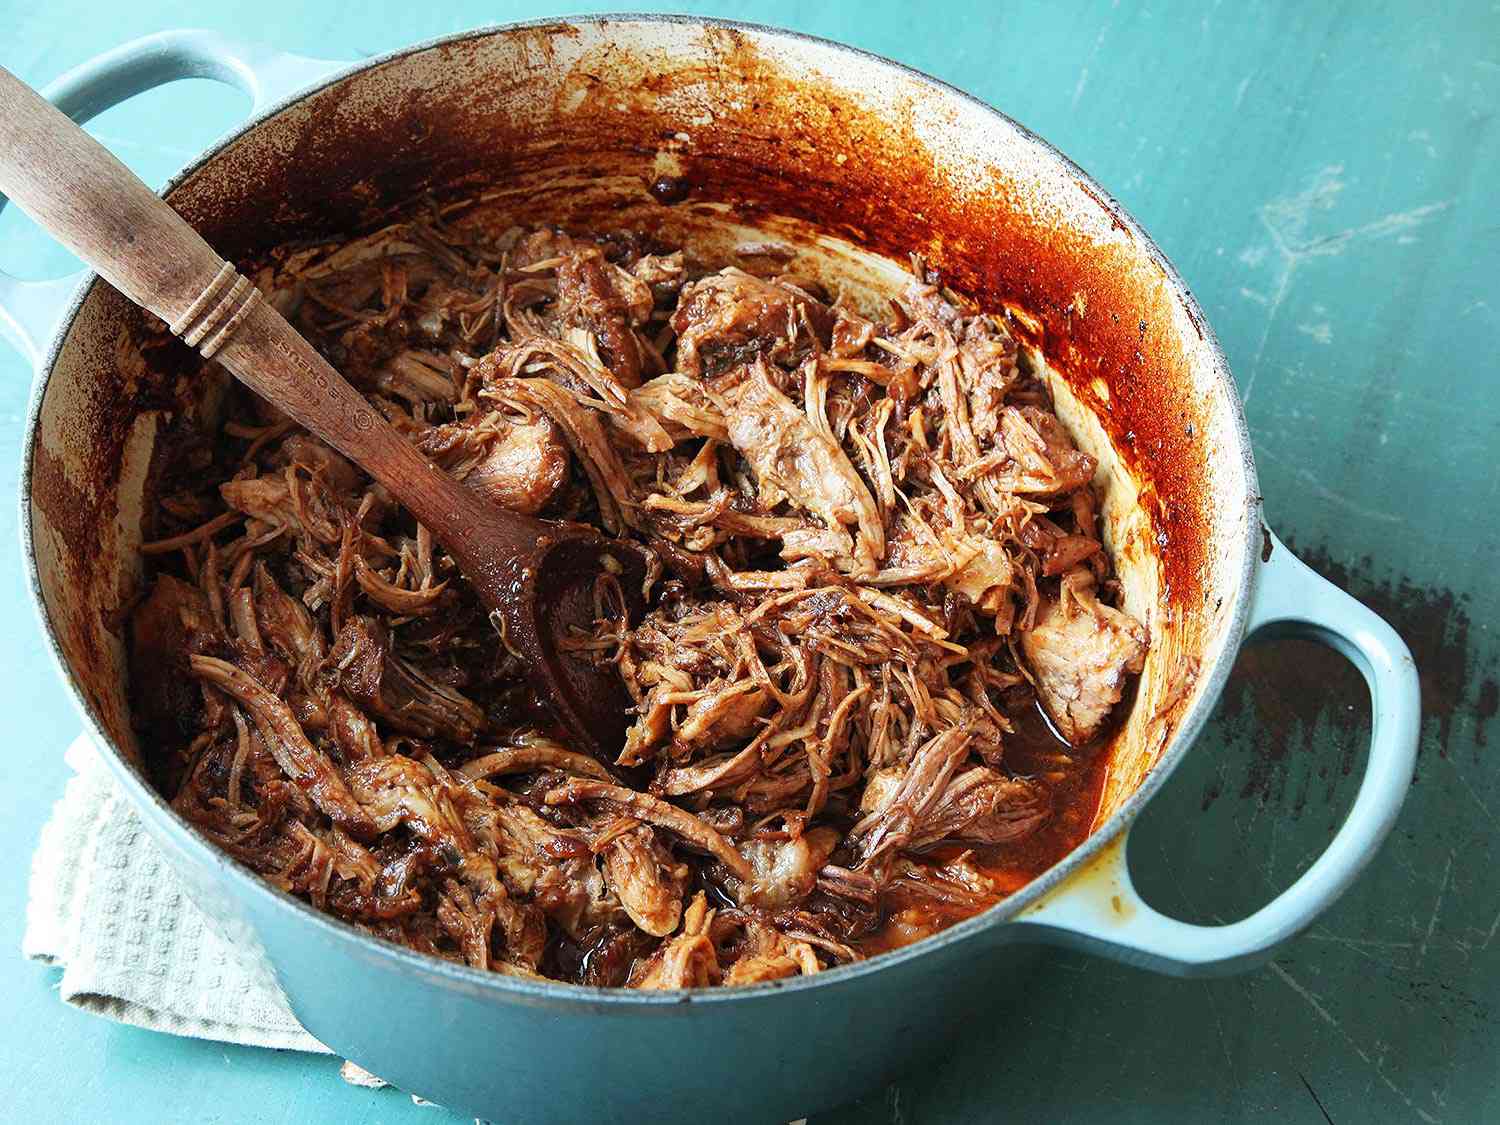
After browning, remove the pork shoulder from the Dutch oven. Reduce the heat to low and add your choice of braising liquid, such as beer or chicken broth, to the pot. Return the pork to the Dutch oven and cover it with the lid. Let the pork simmer for 3-4 hours, turning occasionally, until it reaches an internal temperature of 195°F. This slow cooking method ensures the pork becomes tender and easy to shred.
Serving Suggestions for Dutch Oven Pulled Pork
Accompanying Side Dishes
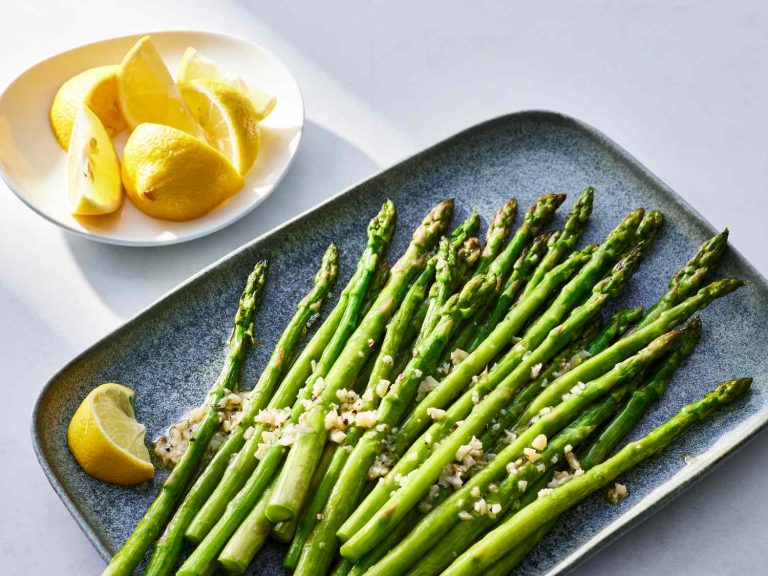
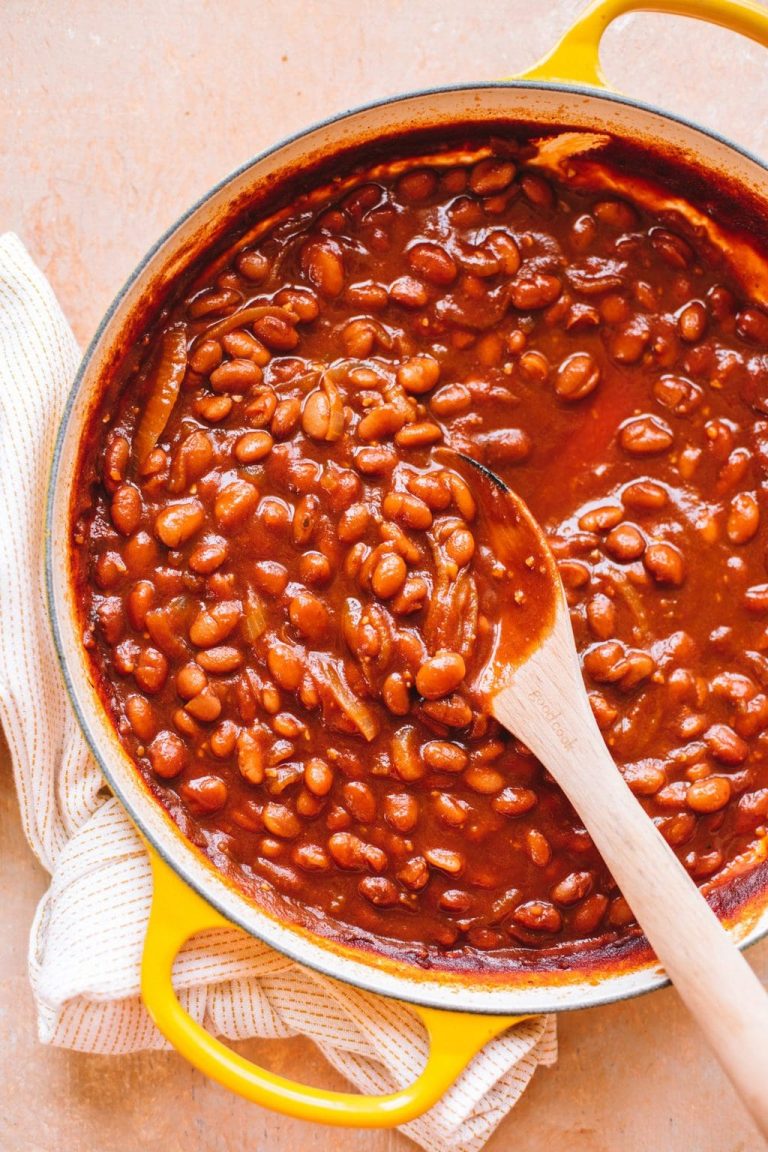
Enhance your Dutch oven pulled pork with a variety of side dishes to create a balanced and flavorful meal. Coleslaw, for instance, adds a crunchy texture and tangy flavor that complements the rich pulled pork. Cornbread offers a slightly sweet and crumbly counterpart, perfect for soaking up any remaining juices. Baked beans provide a hearty, savory side that pairs well with the smoky flavor of the pork. For a fresher option, consider a green salad with vinaigrette to add a light and zesty contrast. Sweet potato fries can offer a crispy, sweet side with a hint of saltiness when seasoned.
Presentation Tips
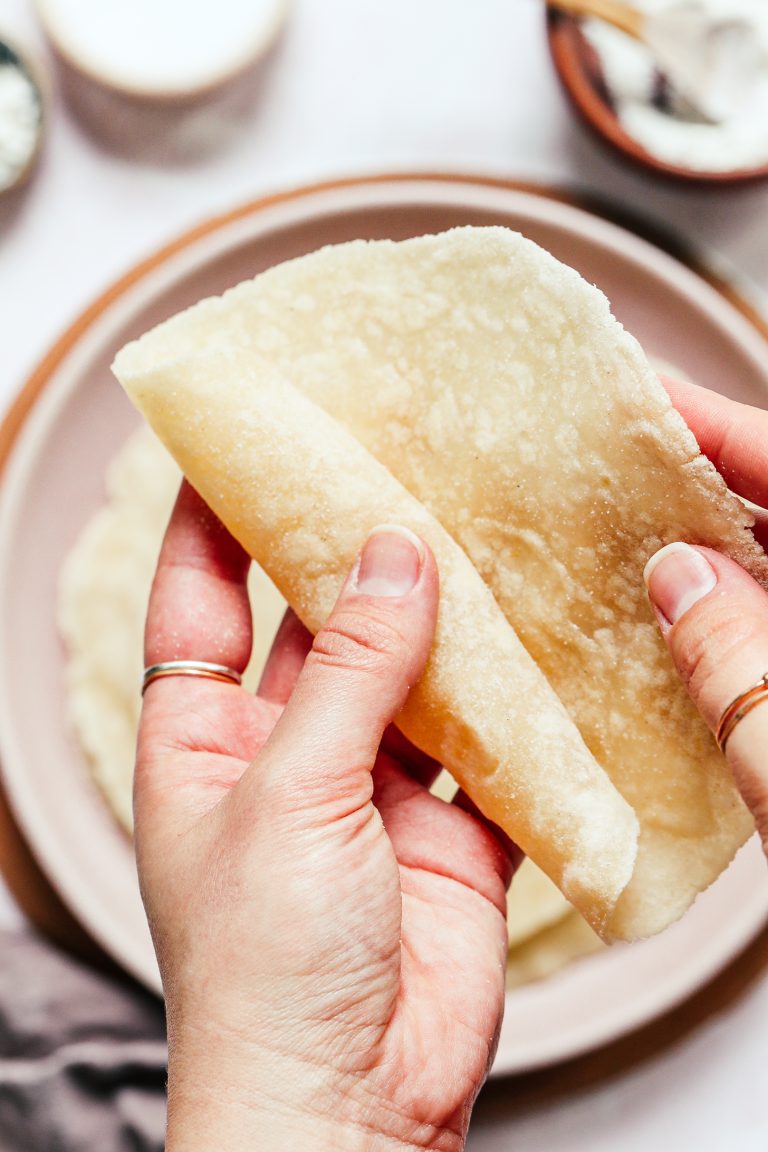
Proper presentation elevates the dining experience. Start by shredding the pork and placing it in the center of a large serving platter to showcase its tenderness and rich color. For added visual appeal, garnish with fresh herbs, such as chopped parsley or cilantro, which bring a pop of color and freshness. Serve the pulled pork with buns on the side if you want to make sandwiches, allowing guests to build their own. Arrange the side dishes around the pulled pork, ensuring they’re easily accessible. Use rustic wooden boards or cast-iron skillets for an authentic, home-cooked feel. Always keep the sauce nearby for guests to add as desired to enhance flavors further.
Cleaning and Maintenance of Your Dutch Oven
Post-Cooking Cleaning Tips
After enjoying your delicious pulled pork, it’s crucial to clean your Dutch oven properly. Avoid harsh detergents to prevent damaging the seasoning. Use warm water and a soft brush or sponge to remove food particles. For stubborn residues, create a paste with baking soda and water, then scrub gently. Dry the Dutch oven thoroughly with a towel to prevent rust. If needed, heat it briefly to ensure complete dryness.
Storage Solutions for Longevity
Correctly storing your Dutch oven extends its lifespan. Ensure the Dutch oven is completely dry before storage to prevent moisture-induced damage. Use a paper towel or cloth between the lid and base to allow air circulation. Store in a cool, dry place, avoiding stacking heavy items on top. For added protection, periodically season the Dutch oven with a thin layer of cooking oil, especially if it’s cast iron.
Conclusion
Mastering Dutch oven pulled pork opens up a world of culinary possibilities. With its ability to lock in flavors and maintain consistent heat, your Dutch oven becomes an indispensable tool in your kitchen. By following the preparation and cooking steps, you’ll achieve mouth-watering pulled pork that pairs perfectly with sides like coleslaw and cornbread.
Remember to take care of your Dutch oven with proper cleaning and maintenance. Using warm water and baking soda for cleaning, ensuring it’s thoroughly dried, and storing it correctly will keep it in top shape for years to come. Enjoy the delicious results and the satisfaction of creating a perfect pulled pork dish.