Oatmeal Peanut Butter Bars: Easy Recipe and Customization Options
Oatmeal peanut butter bars combine high-protein peanut butter with fiber-rich oats. Each bar typically offers around 200 calories, with protein content varying based on the amount of peanut butter used. These bars also provide essential nutrients including healthy fats, vitamins, and minerals. Oats are known for their high beta-glucan content which aids in lowering cholesterol levels. Peanut butter contributes antioxidants like Vitamin E. Together, they make a balanced snack suitable for various dietary needs.
Popularity and Trends
Oatmeal peanut butter bars have gained popularity due to their ease of preparation and nutritional benefits. Trends show increasing interest in healthy, homemade snacks as more people seek to avoid processed foods. Social media platforms like Instagram and Pinterest feature countless recipes and creative variations, emphasizing low-sugar and gluten-free options. Fitness enthusiasts and busy professionals gravitate toward these bars for quick, nutritious energy boosts. The inclusion of additional ingredients like chocolate chips, honey, and chia seeds also contributes to their widespread appeal.
Ingredients and Substitutions
Essential Ingredients for the Perfect Bar
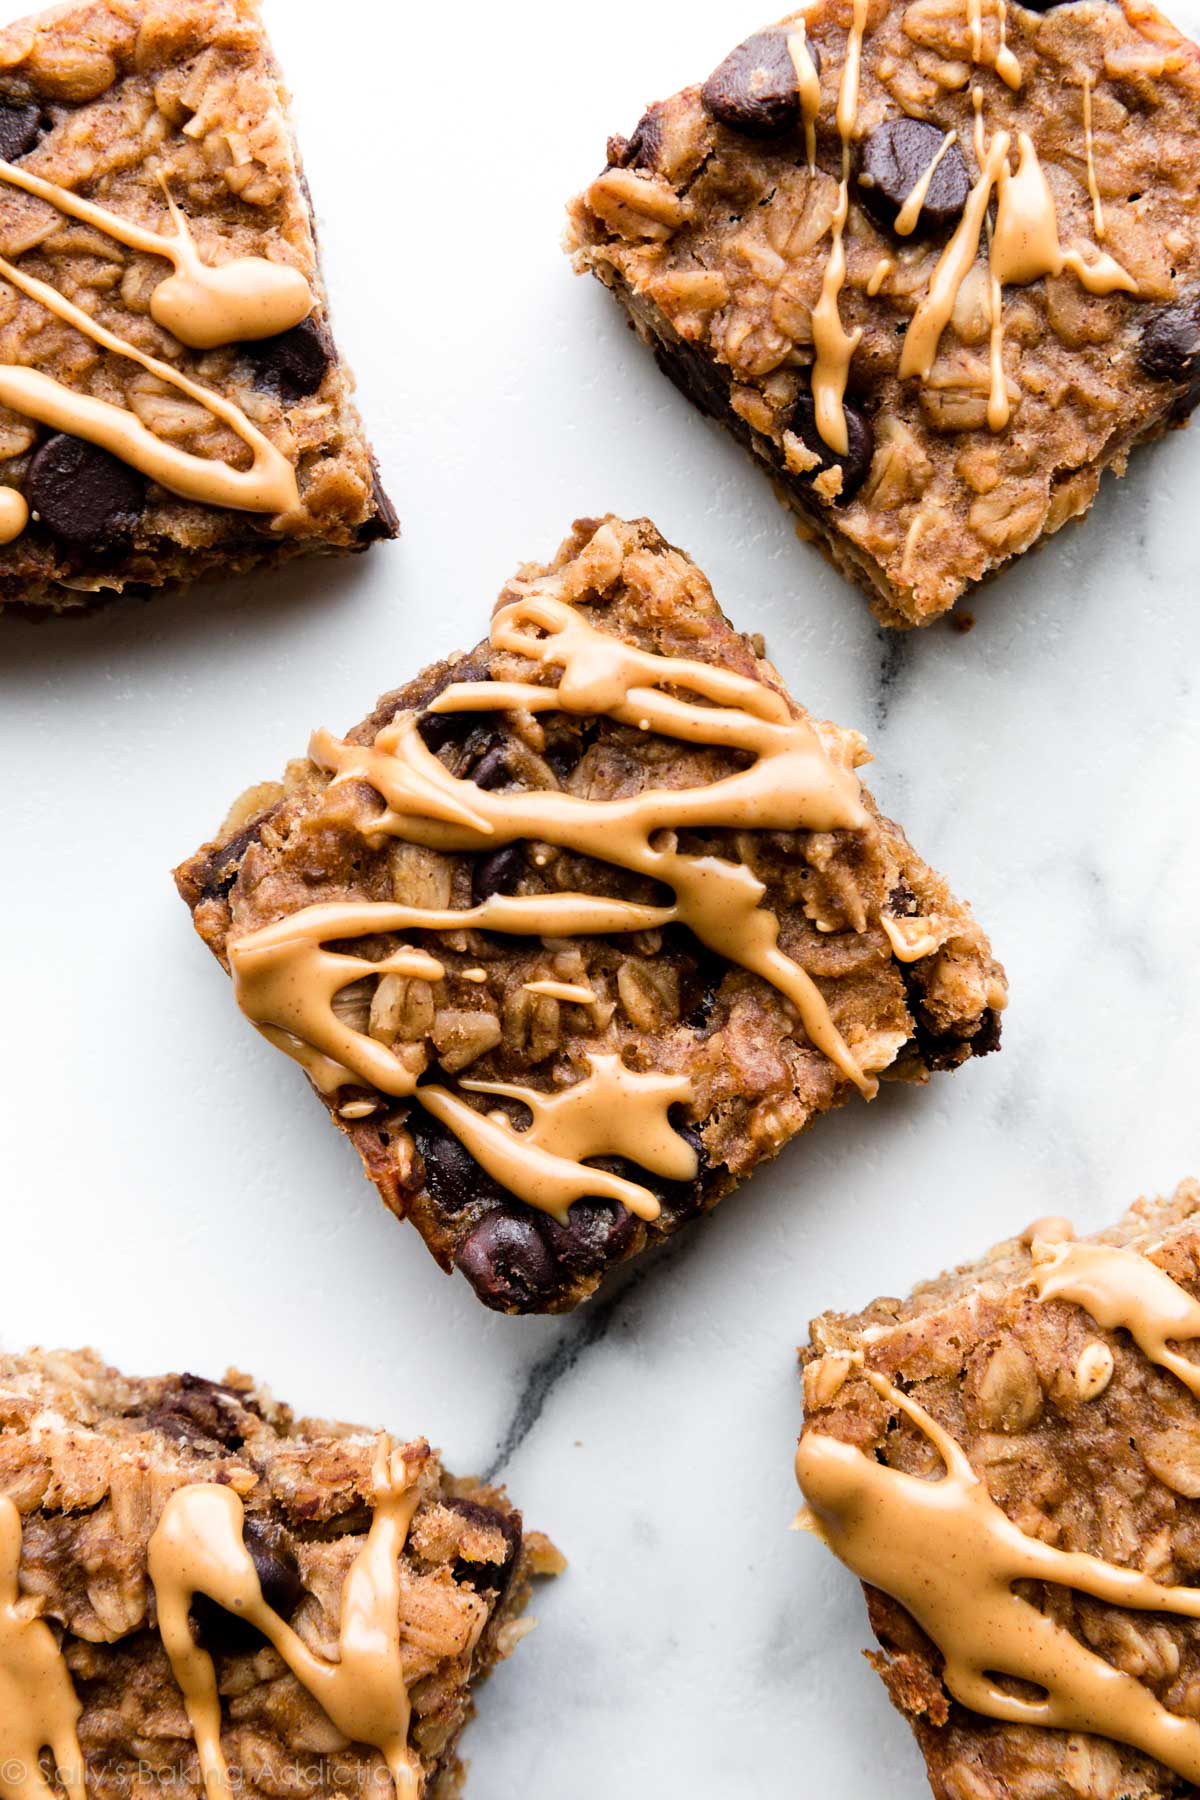
For crafting the perfect oatmeal peanut butter bars, start with 1 cup of creamy peanut butter, providing the essential protein and healthy fats. Use 2 cups of rolled oats to add fiber and texture. Incorporate 1/3 cup of honey or maple syrup to sweeten naturally, ensuring a balanced taste without refined sugars. Mix in 1 tsp of vanilla extract to enhance flavor. For added richness, consider adding 1/2 cup of chocolate chips or dried fruits. Finally, a pinch of salt (about 1/4 tsp) balances the sweetness and enriches the overall taste.
Healthy Substitution Ideas
To cater to various dietary preferences, substitute ingredients as follows:
- Nut Butters: Replace peanut butter with almond butter or cashew butter to vary the nutty flavor and nutritional profile.
- Sweeteners: Swap honey or maple syrup with agave nectar, coconut syrup, or a sugar-free alternative like stevia for a lower glycemic index.
- Oats: Use gluten-free oats to make the bars suitable for those with gluten sensitivities.
- Add-Ins: Substitute chocolate chips with cacao nibs for a lower sugar option, or use seeds like chia or flax for an extra omega-3 boost. For fruitiness, consider adding dried cranberries or apricots instead of raisins.
Modify these ingredient choices to align with your nutritional needs without compromising taste and quality.
Step-by-Step Recipe
Preparation Steps
- Gather Ingredients
Make sure you have 1 cup of peanut butter (smooth or crunchy), 3 cups of rolled oats, 1/2 cup of honey, and 1 tsp of vanilla extract. Optional add-ins like chocolate chips, nuts, or dried fruits can enhance the flavor. - Mix Wet Ingredients
In a large bowl, combine peanut butter, honey, and vanilla extract. Stir until the mixture is smooth and well-blended. - Combine Dry Ingredients
Gradually add rolled oats to the wet mixture. Stir until all oats are coated. If you’re adding extras (e.g., chocolate chips), mix them in at this stage. - Prepare Baking Dish
Line an 8×8-inch or 9×9-inch baking dish with parchment paper. This prevents sticking and makes removing the bars easier.
- Press Mixture Into Dish
Evenly spread the mixture into the prepared dish. Press firmly using a spatula or your hands to ensure an even surface. - Refrigerate Mixture
Cover the dish with plastic wrap or a lid. Place it in the refrigerator for at least 2 hours. This allows the bars to firm up. - Slice Bars
Once the mixture is firm, remove it from the refrigerator. Lift the parchment paper to take the bars out of the dish. Use a sharp knife to cut them into squares or rectangles. - Store Bars
Keep the bars in an airtight container. Store them in the refrigerator for up to one week or in the freezer for up to three months.
Dietary Considerations
Gluten-Free Options
For gluten-free oatmeal peanut butter bars, use certified gluten-free oats. Oats can sometimes contain gluten due to cross-contamination, so ensure you’re choosing oats explicitly labeled as gluten-free. Replace wheat-based add-ins with alternatives like almond flour. Find gluten-free substitutes for ingredients like chocolate chips or confectioner’s sugar, if used.
Vegan Variations
To make vegan oatmeal peanut butter bars, replace honey with maple syrup or agave nectar. Verify that your chocolate chips are dairy-free by checking the ingredient list for animal products. Substitute standard peanut butter with a brand that doesn’t contain honey or other animal-derived additives. You can also use flax or chia seeds mixed with water as an egg substitute in recipes calling for eggs.
Serving and Storage Tips
Best Ways to Serve
Serve oatmeal peanut butter bars cold to enhance their texture and flavor. Cut the bars into even squares, about 2×2 inches, for easy handling and portion control. Pair the bars with a glass of milk or a cup of coffee for a satisfying snack. To elevate their presentation, drizzle some melted dark chocolate or garnish with a sprinkle of sea salt.
Storage Guidelines for Freshness
Store oatmeal peanut butter bars in an airtight container to maintain their freshness. Keep them in the refrigerator for up to one week. For longer storage, freeze the bars by individually wrapping them in plastic wrap and placing them in a freezer-safe bag. Thaw the bars at room temperature or in the refrigerator before consuming to enjoy them at their best.
Conclusion
Oatmeal peanut butter bars are a versatile and nutritious snack that you can easily customize to fit your dietary needs. Whether you’re looking for a gluten-free or vegan option, there are plenty of substitutions to make these bars perfect for you. Serve them chilled with your favorite beverage, and enjoy their delicious taste and health benefits. For optimal freshness, store them in an airtight container in the fridge or freeze them for later. Thawing them properly ensures you get the best texture and flavor every time. Enjoy making and eating these delightful bars!