Peanut Butter Kiss Cookies: Tips, Variations, and Serving Ideas
Peanut butter kiss cookies, also known as peanut butter blossoms, first appeared in the 1950s. Freda Smith of Gibsonburg, Ohio, created the original recipe for a baking contest sponsored by Pillsbury in 1957. Her creation, which paired a warm peanut butter cookie with a chocolate kiss placed on top after baking, won second place in the competition. Over the years, this recipe has become a classic in many households, especially during the holiday season.
Popularity Over the Years
Since its inception, the popularity of peanut butter kiss cookies has grown immensely. Many families bake these cookies as part of their holiday traditions. Their easy-to-make nature and crowd-pleasing combination of flavors have made them a staple at cookie exchanges and bake sales. According to surveys, these cookies are among the top favorites during Christmas and other festive occasions. The timeless appeal of chocolate and peanut butter continues to endear these cookies to both new and longtime fans alike.
Key Ingredients and Substitutes
Essential Ingredients for Traditional Flavor
Peanut butter kiss cookies use a simple, traditional ingredient set for their classic taste. You start with peanut butter, typically creamy for a smooth texture, but crunchy works if you want extra texture. Flour, commonly all-purpose, builds the cookie’s structure by working with other ingredients. Granulated sugar and brown sugar add sweetness and moisture, balancing with the peanut butter’s saltiness. Butter or margarine provides richness and helps the cookie maintain its shape. Eggs bind all ingredients, ensuring the cookie has the right consistency. A touch of baking soda enables the cookie to rise slightly, giving it the perfect chew. Vanilla extract enriches the cookie’s depth of flavor. Finally, the chocolate kiss centerpiece is added immediately after baking, melding into the warm cookie for a melt-in-your-mouth experience.
Common Substitutes for Dietary Restrictions
To accommodate dietary restrictions, you can substitute several key ingredients. For gluten-free options, choose a 1:1 gluten-free flour blend in place of all-purpose flour. Replace butter with plant-based margarine or coconut oil for a dairy-free version. Use chia eggs (1 tablespoon of chia seeds mixed with 3 tablespoons of water per egg) if you need an egg-free alternative. Opt for a natural peanut butter without added sugar or oils to comply with a clean-eating diet. For sugar-free versions, swap granulated and brown sugar with erythritol, monk fruit sweetener, or stevia in suitable ratios. Select a dairy-free chocolate kiss or a dark chocolate alternative to cater to those avoiding dairy.
Step-by-Step Baking Guide
Preparing the Dough
Gather all the ingredients before starting. Mix 1 cup of peanut butter, 1 cup of granulated sugar, 1/2 cup of packed brown sugar, and 1/2 cup of softened butter in a large bowl until creamy. Add one egg, 2 tablespoons of milk, and 1 teaspoon of vanilla extract to the mixture. Blend until smooth.
In a separate bowl, combine 1.5 cups of all-purpose flour, 1 teaspoon of baking soda, and 1/2 teaspoon of salt. Gradually add the dry ingredients to the wet mixture, blending well after each addition. Shape the dough into 1-inch balls and roll each ball in granulated sugar for an extra sweet touch. Place the dough balls on an ungreased cookie sheet, ensuring they are spaced evenly.
Baking and Adding Kisses
Preheat your oven to 375°F (190°C). Bake the dough balls for 8-10 minutes, until the cookies are lightly golden and edges set. Remove the cookies from the oven but leave them on the cookie sheet.
Immediately press a chocolate kiss into the center of each cookie while they are still warm, causing the edges to crack slightly. Allow the cookies to cool on the cookie sheet for 5 minutes before transferring them to a wire rack for complete cooling. This step ensures the chocolate kisses set properly without melting too much.
Decorative Ideas and Variations
Creative Decorations for Special Occasions
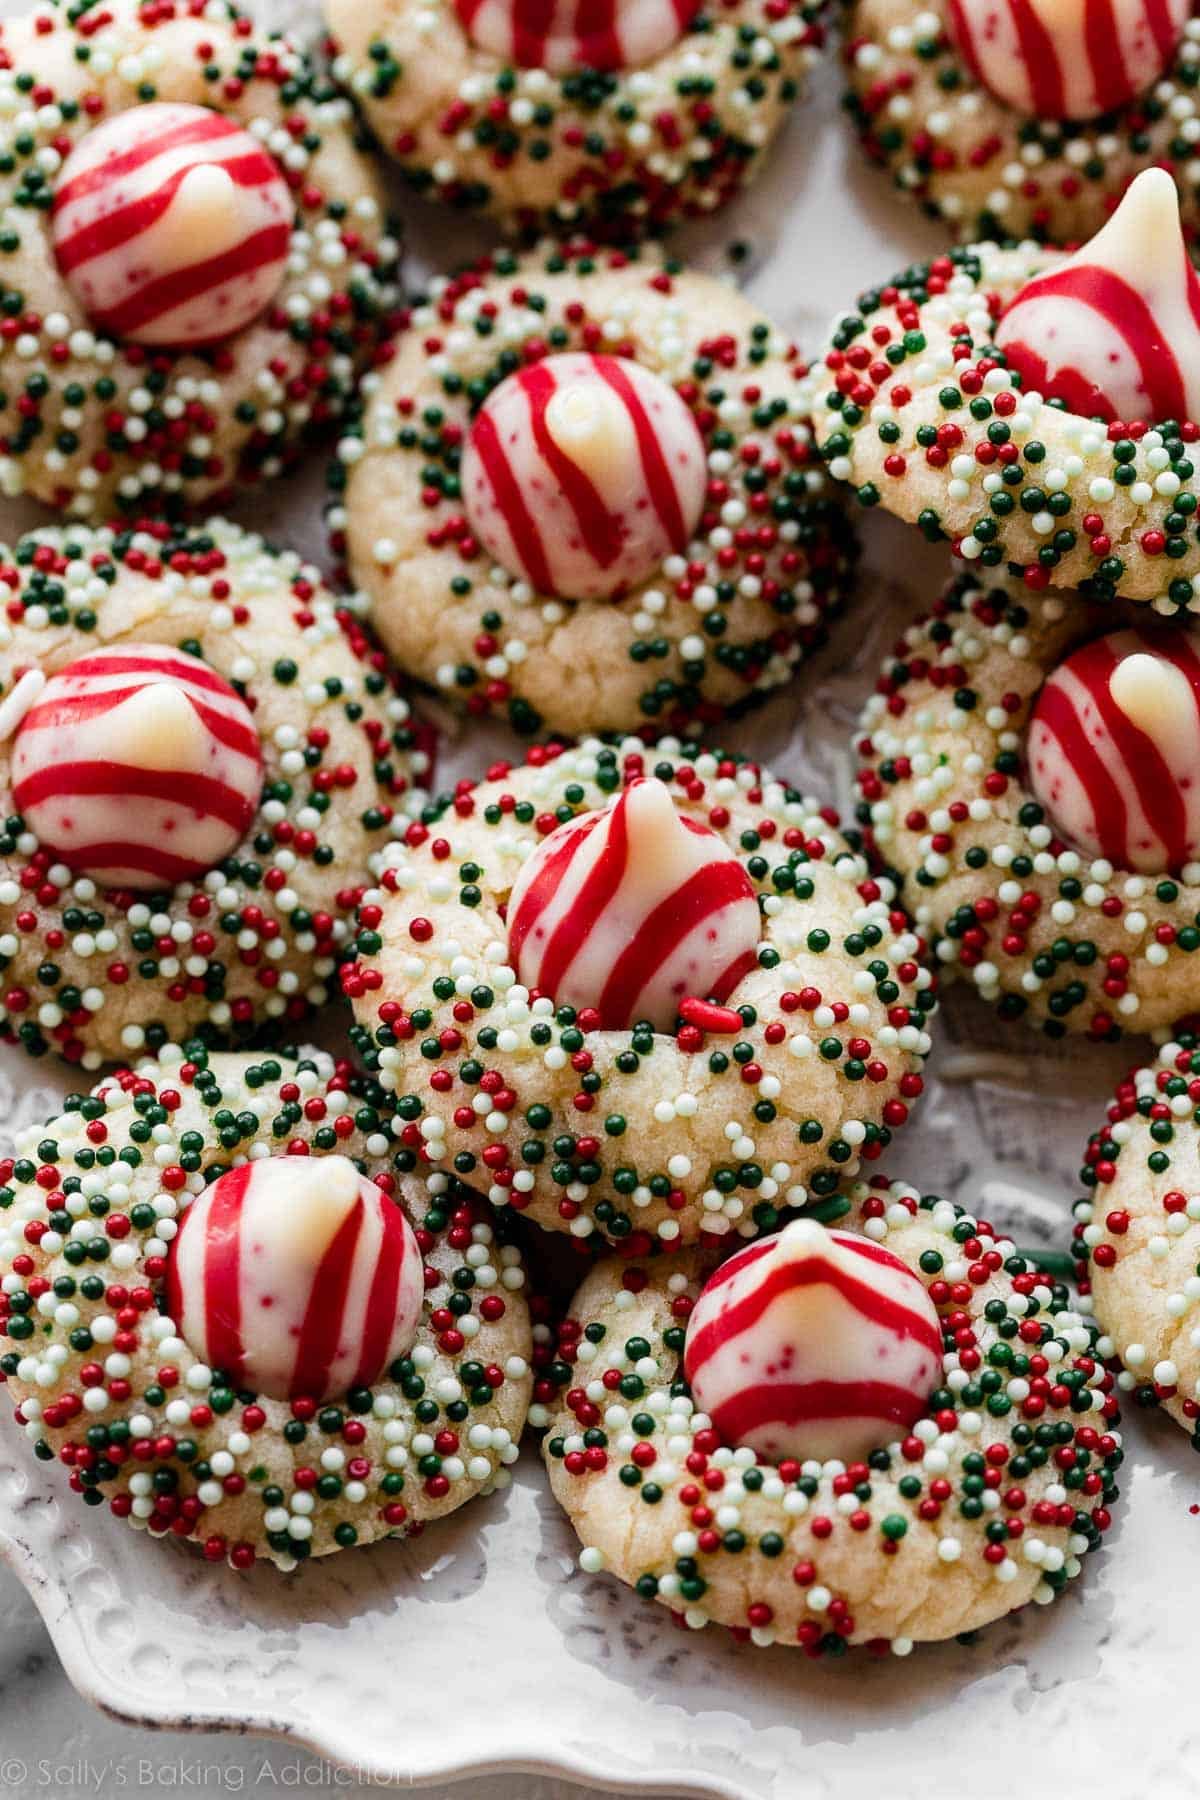
Use various decorations to tailor peanut butter kiss cookies for special occasions. For holiday themes, sprinkle colored sugar or edible glitter on the dough before baking. Top Easter cookies with pastel-colored sugar or miniature candy eggs. For Halloween, add candy eyes or use orange and black sprinkles. Personalize for birthdays by incorporating edible cake toppers or custom messages in icing. For a festive touch, press seasonal Hershey’s Kisses, such as those wrapped in holiday foil, into the warm cookies.
Flavor Variations and Twists
Experiment with different flavors to give a new twist to traditional peanut butter kiss cookies. Replace standard peanut butter with chunky peanut butter for added texture. Use almond or cashew butter for a unique flavor profile. Swap traditional chocolate kisses with alternative centers like caramel-filled kisses, mint-flavored kisses, or even peanut butter cups. Drizzle melted chocolate, white chocolate, or caramel over the cooled cookies to create a gourmet appearance and enhance the taste. Add spices like cinnamon or nutmeg to the dough for a warm, aromatic variation.
Serving and Storage Tips
Best Ways to Serve
Serve peanut butter kiss cookies fresh out of the oven to maximize their warm, gooey texture. Arrange a few cookies on a plate with a glass of cold milk for a classic pairing. For a more festive presentation, place the cookies on a decorative platter and garnish with holiday-themed elements like edible glitter or crushed candy canes.
If catering a special event, consider displaying the cookies on a tiered stand among other treats. Differentiate flavors using colored sugar or alternate kiss fillings, ensuring each variation is identifiable. Serve cookies at room temperature if baking in advance, allowing the flavors to meld.
Storage Recommendations
Store peanut butter kiss cookies in an airtight container to retain softness and prevent staleness. Layer parchment paper between rows to avoid sticking. For best results, consume within five days.
If you need to extend shelf life, freeze cookies in a single layer on a baking sheet before transferring to a freezer-safe bag. This method helps maintain their shape and texture. Thaw frozen cookies at room temperature for optimal taste and consistency. Avoid refrigerating cookies, as this can lead to dryness.
Conclusion
Peanut butter kiss cookies are a delightful treat that combines the rich flavors of peanut butter and chocolate. Whether you’re baking for a special occasion or just craving a sweet snack these cookies offer endless possibilities for customization. Experiment with different nut butters kiss fillings and decorative touches to create a unique batch every time. Serve them warm with a glass of milk or present them on a festive platter to impress your guests. Remember to store them properly to maintain their freshness and enjoy these scrumptious cookies at their best. Happy baking!