BBQ Ribs on the Grill: Tips, Techniques, and Side Dishes
When selecting ribs, you’ll choose between pork ribs and beef ribs. Pork ribs, more popular in BBQ culture, come in two main types: baby back ribs and spare ribs. Baby back ribs, smaller and leaner, usually cook faster and are more tender. Spare ribs, larger and meatier, require more cooking time but offer a richer flavor. Beef ribs are less common but provide a robust, beefy taste. Beef back ribs contain more bone than meat, while short ribs feature a higher meat-to-bone ratio and are ideal for slow cooking.
Selecting Quality Meat
For quality ribs, look for fresh meat with a consistent pink color and no discoloration. Marbling, the white fat streaks within the meat, enhances flavor and tenderness. Check the ribs for an even thickness, which ensures uniform cooking. Avoid meat with excessive liquid in the packaging, as this indicates poor quality. If you’re buying pre-packaged ribs, ensure the packaging is intact and free from tears or punctures, as these can affect meat quality.
Preparing Your Ribs for the Grill
Removing the Membrane
Remove the membrane to improve the texture and flavor of your ribs. The membrane, a thin layer on the bone side, can make ribs tough if left on. Slide a knife under the membrane at one end to lift it. Then, use a paper towel to grip and pull it off in one piece. This step ensures seasonings penetrate the meat better, resulting in more tender ribs.
Marinating vs. Dry Rubs
Enhance your ribs’ flavor by choosing between marinating and dry rubs.
Marinating: Marinades often include acids like vinegar, citrus juice, or wine, which help tenderize the meat. Combine ingredients such as garlic, soy sauce, and olive oil in a container, then submerge the ribs and refrigerate for several hours or overnight.
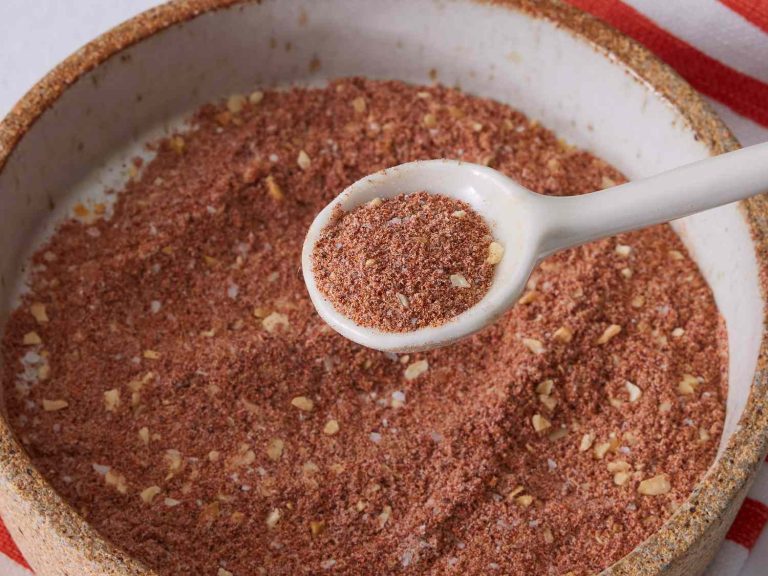
Dry Rubs: Dry rubs create a crust on the ribs, adding texture and deep flavor. Mix spices like paprika, garlic powder, brown sugar, and black pepper. Generously coat the ribs, pressing the rub into the meat. Let the ribs sit for at least an hour, or refrigerate them overnight, allowing the flavors to meld.
Whether using a marinade or a dry rub, ensure your ribs are evenly seasoned for optimal taste and tenderness on the grill.
Mastery of the Grill Setup
Direct vs. Indirect Heat
Understanding how to use direct and indirect heat is crucial for grilling BBQ ribs. Direct heat cooks food quickly, making it ideal for searing the outside of meats. Place ribs directly over the flames if you want a quick sear to lock in juices. Indirect heat cooks more slowly and evenly, making it perfect for tenderizing ribs without burning them. Arrange the coals to one side of the grill and position ribs on the opposite side to utilize indirect heat. This method ensures your ribs cook thoroughly, gaining a rich flavor.
Temperature Control
Maintaining the correct temperature on the grill is critical for successful BBQ ribs. Aim to keep your grill at a steady 225°F to 250°F for optimal slow cooking. Use a grill thermometer to monitor and adjust as needed. Too high a temperature can burn the ribs while too low can’t tenderize them properly. Use vents to control the airflow and regulate the heat inside the grill. Adjust the intake and exhaust vents to maximize heat retention or allow excess heat to escape. Consistent temperature management results in perfectly cooked, flavorful ribs.
The Grilling Process
Timing and Techniques
Cook BBQ ribs low and slow for tender results. Maintain grill temperature between 225°F to 250°F using indirect heat. Plan for around 5-6 hours of cooking time. Spritz the ribs with apple juice or vinegar every hour to keep them moist. Wrap ribs in foil after the first 3 hours to ensure tenderness. Use a meat thermometer to check internal temperature; ribs should reach 190°F to 203°F for optimal texture.
Turning and Basting
Turn ribs every 30 minutes to promote even cooking. Baste ribs with your favorite BBQ sauce during the last 30 minutes for added flavor. Avoid over-basting, as sugar in sauces can burn. Use a silicone brush for even application. Let ribs rest for 10-15 minutes after removing from grill to allow juices to redistribute.
Serving Your BBQ Ribs
Suggested Side Dishes
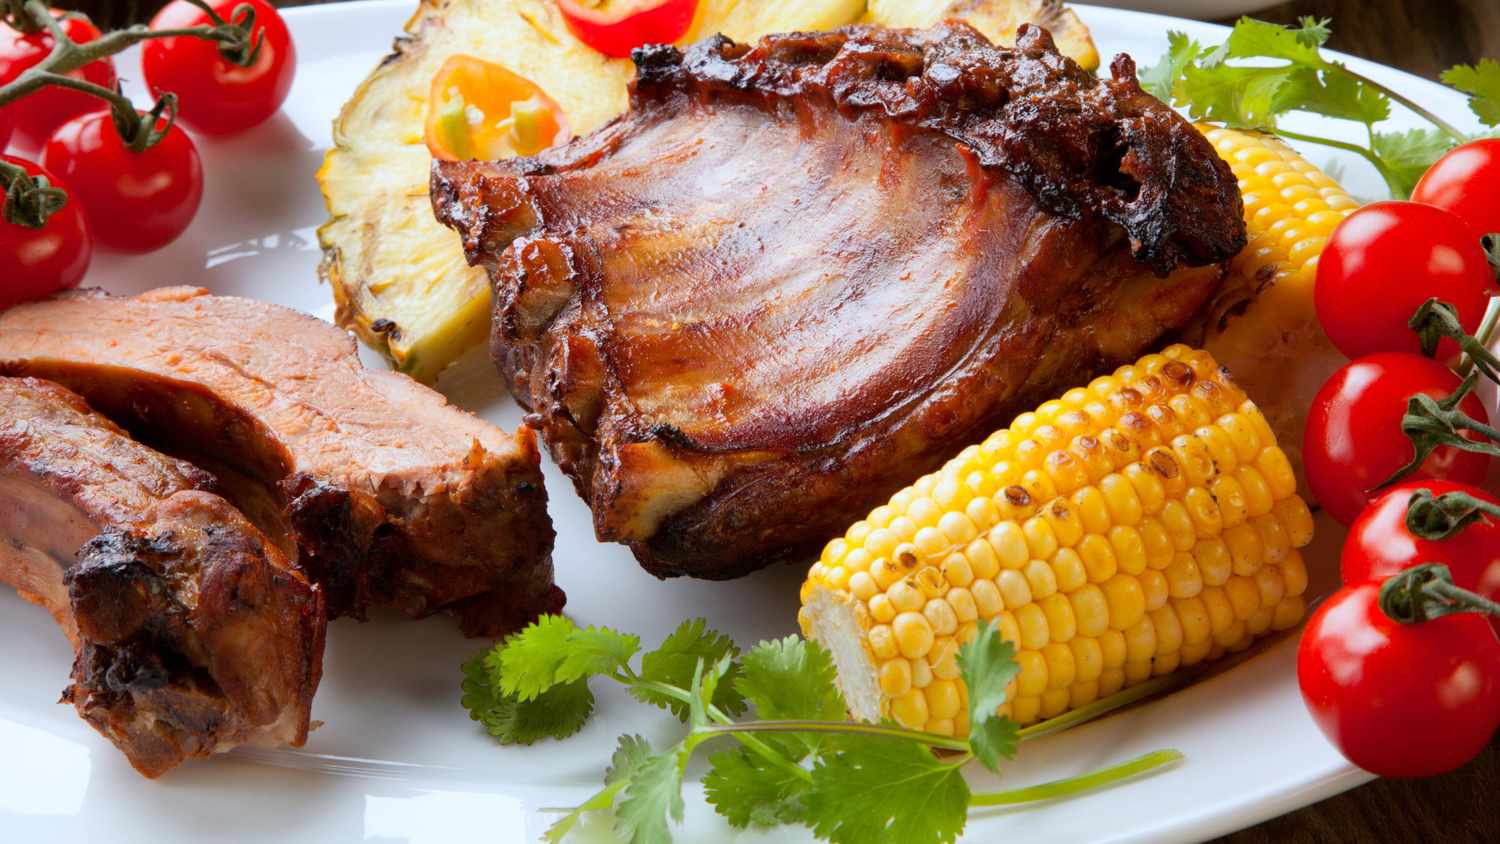
Complement your BBQ ribs with various sides to create a balanced meal. Opt for classic dishes like coleslaw, baked beans, and cornbread. Coleslaw adds a refreshing crunch, while baked beans contribute a savory, hearty element. Cornbread offers a slightly sweet contrast.
For a lighter option, consider grilled vegetables. Bell peppers, zucchini, and corn on the cob grilled alongside your ribs provide a healthy, colorful addition. Potato salad and mac ‘n’ cheese cater to those preferring comfort food.
Presentation Tips
Ensure your BBQ ribs look as good as they taste. After allowing them to rest, slice the ribs between the bones for individual servings. Arrange the ribs on a large platter for a family-style presentation.
Garnish with fresh herbs like parsley or cilantro for a pop of color. Place a small bowl of extra BBQ sauce on the side for those wanting an additional burst of flavor. Pairing your ribs with vibrant sides enhances the overall appeal, inviting your guests to dig in.
Use wooden cutting boards or rustic platters for an authentic BBQ feel. Serve drinks such as lemonade or iced tea in mason jars to enhance the casual outdoor dining experience.
Conclusion
Grilling BBQ ribs can turn any backyard gathering into a memorable feast. By carefully selecting and preparing your ribs, mastering the grill setup, and following key tips for cooking and serving, you’ll achieve mouthwatering results every time. Pair your perfectly grilled ribs with classic sides like coleslaw and baked beans, and present them with flair to impress your guests. With these insights, you’re well on your way to becoming the BBQ hero of your neighborhood. Enjoy the process and savor every bite!
