Homemade Almond Milk: Benefits, Recipes, and Storage Tips
Homemade almond milk offers superior nutritional value. It’s rich in vitamins and minerals like Vitamin E, magnesium, and calcium. These nutrients boost your immune system and support bone health. Unlike many store-bought versions, homemade almond milk contains no added sugars, making it a healthier option. Ensuring you use high-quality almonds guarantees optimal nutritional intake.
Eco-Friendly Choice
Choosing homemade almond milk is an eco-friendly decision. Store-bought almond milk often comes in plastic containers, contributing to environmental waste. Making almond milk at home reduces plastic waste and promotes sustainability. You use fewer resources by avoiding the industrial processes involved in mass production. With homemade options, you control portion sizes, reducing overall food waste.
Necessary Ingredients and Tools
Choosing the Right Almonds
Select raw, organic almonds to ensure the highest nutritional content. Raw almonds maintain natural enzymes and preserve nutrients. Organic almonds minimize exposure to pesticides and chemicals. Avoid roasted or salted almonds as they may alter the flavor and consistency of the milk. A recommended quantity is 1 cup of almonds, yielding approximately 4 cups of almond milk.
Tools for Making Almond Milk
To make almond milk, gather the following tools:
- Blender: Choose a high-speed blender to achieve a smooth, creamy texture.
- Nut Milk Bag or Cheesecloth: Use these for straining the almond pulp from the liquid.
- Bowl: Use a large bowl to catch the strained milk.
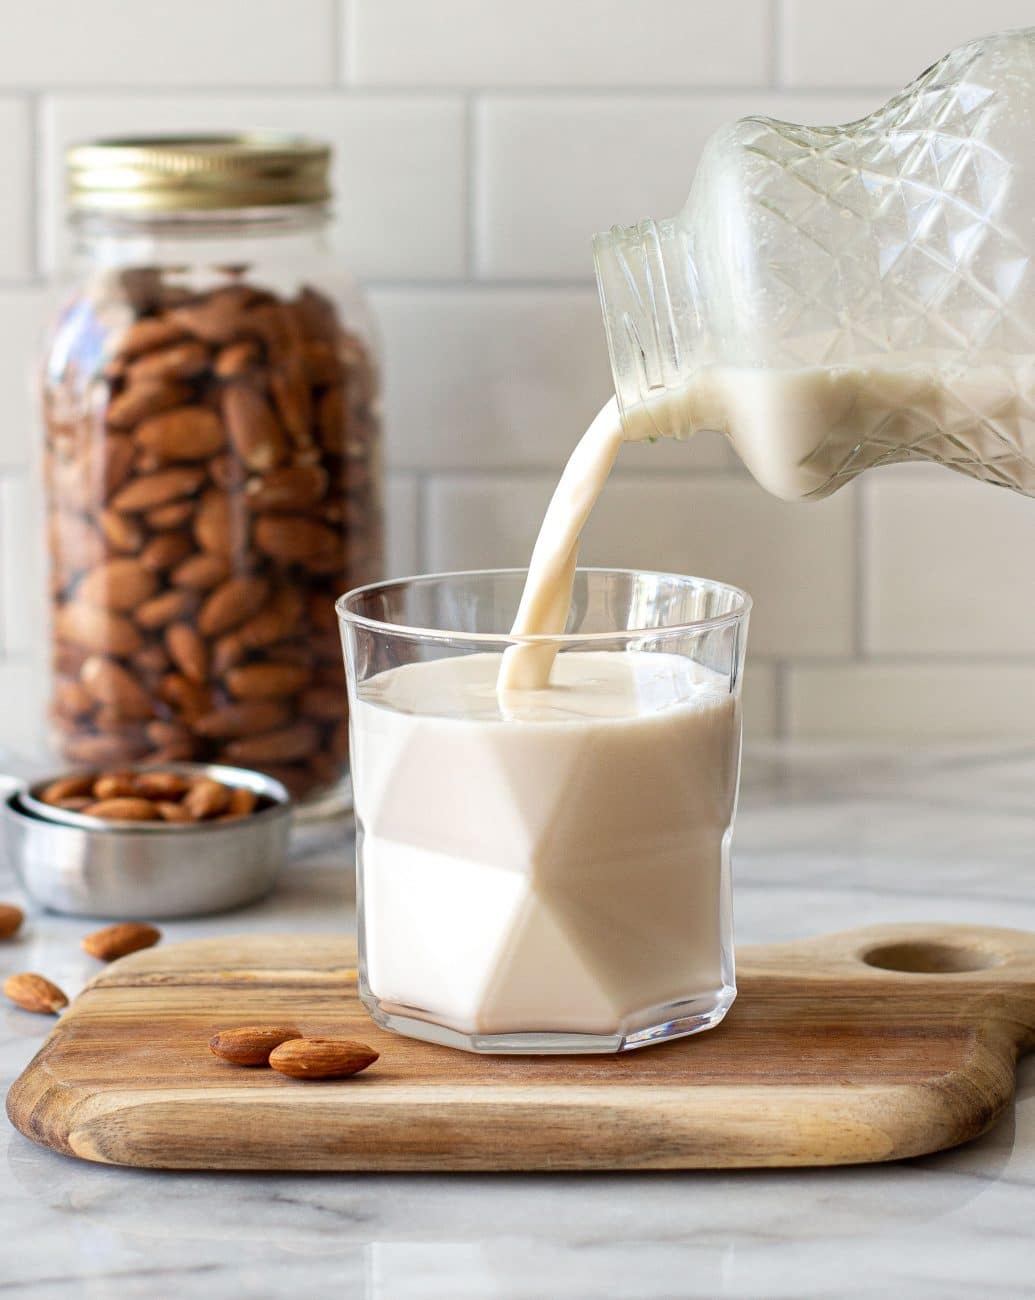
- Jar or Bottle: Store the almond milk in an airtight jar or bottle. Prefer glass containers for health and environmental benefits.
Having these ingredients and tools ready will streamline the almond milk-making process.
Step-by-Step Guide to Making Almond Milk
Soaking the Almonds
Start by soaking the almonds to soften them, which makes blending easier and enhances nutrient absorption. Use one cup of raw, organic almonds (approximately 150 grams). Place the almonds in a bowl and add enough water to cover them completely. Let them soak for at least 8 hours or overnight. For optimal results, ensure the soaking time isn’t less than 8 hours to allow the almonds to fully absorb water, resulting in creamier milk.
Blending and Straining
Once the almonds are soaked, drain and rinse them thoroughly to remove any residual phytic acid, which can inhibit nutrient absorption. Transfer the soaked almonds to a high-speed blender and add 4 cups of filtered water (approximately 950 milliliters). Secure the blender lid and blend on high speed for 2 minutes until the mixture becomes smooth and creamy.
After blending, you’ll need to strain the mixture to separate the almond pulp from the milk. Use a nut milk bag or a cheesecloth for this process. Place the nut milk bag or cheesecloth over a large bowl, then pour the blended mixture into it. Carefully gather the edges of the bag or cloth and squeeze out the liquid, ensuring to extract as much milk as possible. Transfer the almond milk into a glass jar or bottle for storage. The milk can be refrigerated for up to 4 days.
Flavoring Your Almond Milk
Sweet and Savory Options
Experiment with both sweet and savory flavors to enhance your almond milk. For sweet options, add vanilla extract, honey, or maple syrup. Vanilla extract imparts a classic, rich flavor, while honey and maple syrup offer natural sweetness. For savory variations, incorporate sea salt, cinnamon, or turmeric. Sea salt adds a subtle yet distinct taste, while cinnamon and turmeric provide warm, earthy notes. Adjust quantities to suit your taste preferences, starting with small amounts and increasing as needed.
Best Practices for Natural Sweeteners
Use natural sweeteners to add flavor without compromising health benefits. When using dates, soak them in water for 15 minutes to soften before blending. Maple syrup and agave nectar dissolve easily without pre-preparation. If you prefer stevia, use liquid drops for even distribution. Always blend sweeteners thoroughly to ensure consistent flavor throughout your almond milk. Adjust sweetness level gradually to prevent overpowering the almond’s natural taste. Incorporating these practices results in a balanced, delicious homemade almond milk.
Storing and Using Homemade Almond Milk
Shelf Life and Storage Tips
Homemade almond milk lasts up to 4 days if kept in a refrigerator. Store it in a clean, airtight glass jar or bottle to preserve freshness. Shake well before each use, as natural separation occurs. If you notice sour smell or taste, discard it immediately.
Creative Uses in Recipes
Homemade almond milk enhances many recipes. Use it in smoothies for a creamy texture. Replace dairy milk in baking, such as muffins or pancakes. Pour it over cereal for a nutritious breakfast. Add it to coffee or tea as a dairy-free creamer. Create delicious almond milk-based sauces, like bechamel or curry. Experiment with homemade ice creams and desserts for unique flavors.
Conclusion
Making your own almond milk at home is not only simple but also highly rewarding. By using raw, organic almonds, you’re ensuring a nutritious and environmentally friendly alternative to store-bought options. With just a few steps, you can enjoy fresh almond milk that’s perfect for a variety of culinary uses. Remember to store it properly in a clean, airtight glass jar and shake well before each use. Whether you’re adding it to smoothies, baking, or your morning coffee, homemade almond milk offers endless possibilities to enhance your meals. Give it a try and experience the difference for yourself.