Maple Syrup: Step-by-Step Guide, Recipes, and Tips for Perfect Syrup
Homemade maple syrup contains fewer additives compared to processed syrups. While commercial syrups often have artificial flavors, preservatives, and high fructose corn syrup, homemade versions use only pure sap from maple trees. This reduces your intake of unnecessary chemicals. You also avoid the excessive sugar content found in many store-bought syrups, making homemade syrup a healthier option for daily consumption. Pure maple syrup offers essential nutrients like zinc and manganese, important for immune function and bone health.
Enhanced Flavor Profiles
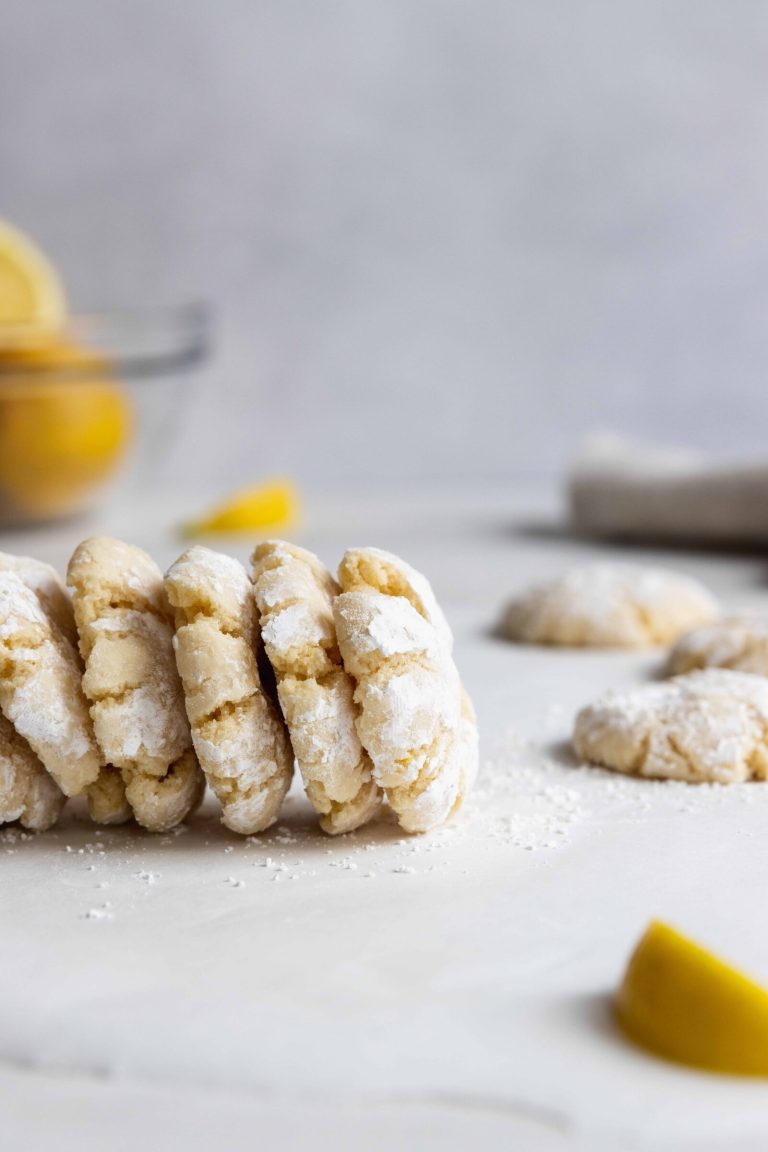
Homemade maple syrup boasts a richer, more authentic taste than its commercial counterparts. Using pure sap results in a depth of flavor that’s hard to find in processed syrups. The distinct maple essence enhances the taste of your breakfast favorites like pancakes, waffles, or oatmeal, and elevates baked goods. By controlling the boiling process, you can customize the syrup’s consistency and sweetness. This tailored approach to flavor ensures that your dishes benefit from the unique qualities of high-quality syrup made at home.
Key Ingredients for Making Maple Syrup at Home
Choosing the Right Maple Trees
Sugar maples, black maples, and red maples provide the best sap for making syrup. Choose trees with a trunk diameter of at least 10-12 inches. For optimal sap flow, select trees aged 40 years or older. Tap trees in early spring when daytime temperatures rise above freezing and nights still drop below freezing.
Essential Tools and Equipment
Several tools and pieces of equipment are necessary to efficiently produce maple syrup at home. Use spiles or taps to extract sap from the trees. Ensure a hammer or drill is available to insert the spiles. Collect sap with food-grade buckets or bags to avoid contamination. Transport sap in large storage containers.
Use a large evaporator pan for boiling the sap, ideally stainless steel for even heat distribution. A candy thermometer is essential to monitor the temperature as it thickens. Finish with a hydrometer to check the sugar content of the syrup. Store the final product in sterilized glass jars for long-term preservation.
Step-by-Step Process to Produce Homemade Maple Syrup
Tapping the Maple Trees
Begin by selecting mature maple trees, ideally 40 years or older, with diameters over 12 inches. Drill a hole 1.5 to 2 inches deep at chest height, angling slightly upward. Insert a spile into the hole, attaching a collection bucket to capture sap. Repeat the process using multiple trees for increased sap yield.
Boiling Down the Sap
Collect sap until you have at least 10 gallons. Pour the sap into a wide evaporator pan, heating it consistently. Boil the sap until its volume reduces, concentrating sugars. Monitor the temperature, aiming for 219°F. Skim off foam and impurities regularly to ensure purity.
Filtering and Storage Tips
Filter the concentrated syrup through cheesecloth to remove sediment. Pour the syrup into sterilized glass jars, ensuring a secure seal to prevent contamination. Store the jars in a cool, dark place, and refrigerate after opening to maintain quality. Proper storage extends shelf life and preserves the syrup’s rich flavor.
Challenges of Making Maple Syrup at Home
Time and Labor Investment
Making maple syrup at home demands significant time and labor. Tapping trees typically occurs when daytime temperatures rise above freezing and nighttime temperatures drop below freezing. This temperature fluctuation ensures optimal sap flow. Collecting sap requires regular monitoring and can take several weeks to gather enough for syrup production. Boiling down the sap is time-consuming, taking many hours to reduce it to syrup consistency. Depending on the sap’s sugar content, it often takes about 40 gallons of sap to produce one gallon of syrup. Overall, be prepared for a prolonged and labor-intensive process.
Controlling Syrup Quality and Consistency
Ensuring consistent syrup quality presents another challenge. Sap sugar content varies, affecting boiling time and final syrup taste. Maintaining a constant boiling temperature, ideally around 219°F (104°C), is crucial for achieving the right syrup density. Impurities in sap necessitate effective filtering, which can become cumbersome without the right equipment. Even with precise control, homemade syrup may exhibit slight variations in flavor or texture batch to batch. Adherence to proper sterilization methods for storage jars also impacts the syrup’s longevity and safety.
Recipe Variations With Homemade Maple Syrup
Classic Pancake Syrup
Transform your pancakes with classic maple syrup. Use 1 cup of homemade maple syrup, add 1/2 teaspoon of vanilla extract, and 1/4 teaspoon of sea salt. Heat the mixture over low heat until warm. This combination enhances the natural sweetness and adds depth of flavor. Perfect for breakfast foods like pancakes and waffles.
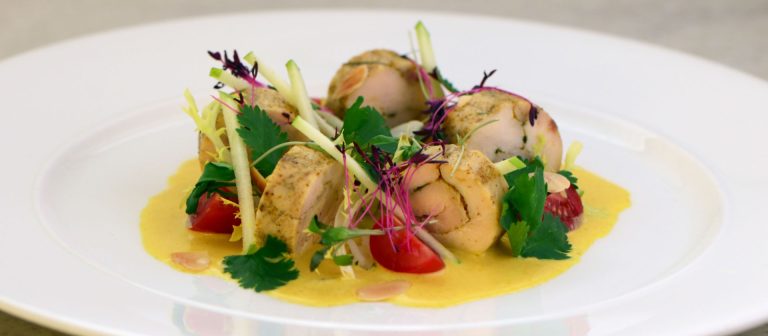
Infused Syrups for Specialty Dishes
Elevate specialty dishes by infusing maple syrup. Create unique flavors using a base of 1 cup of homemade maple syrup and infuse with different ingredients:
- Vanilla Infused Syrup: Add one vanilla bean split lengthwise. Simmer on low heat for 10 minutes. Great for desserts and coffee.
- Cinnamon Infused Syrup: Use two cinnamon sticks. Simmer for 5-10 minutes until aromatic. Perfect for French toast and holiday recipes.
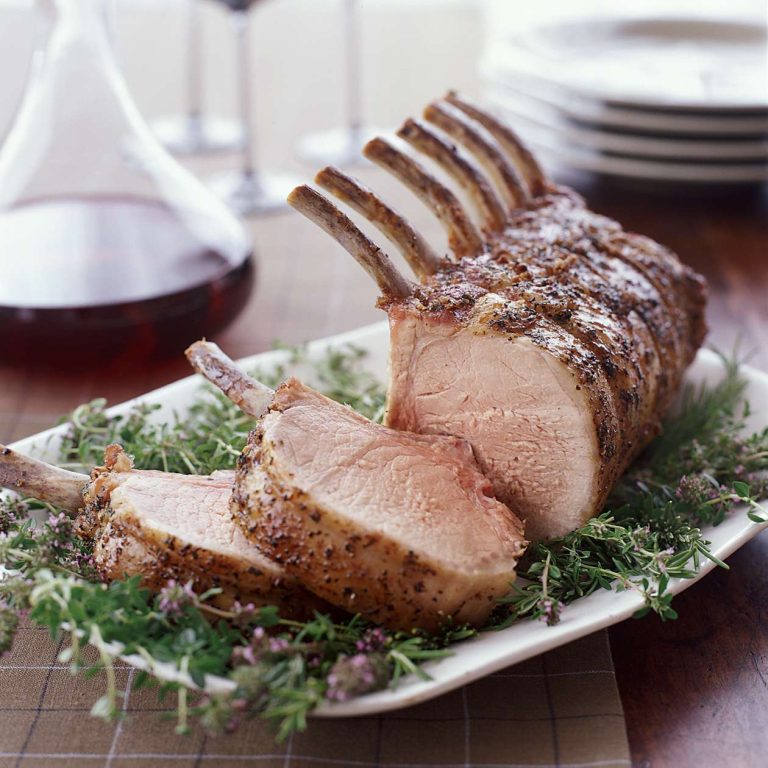
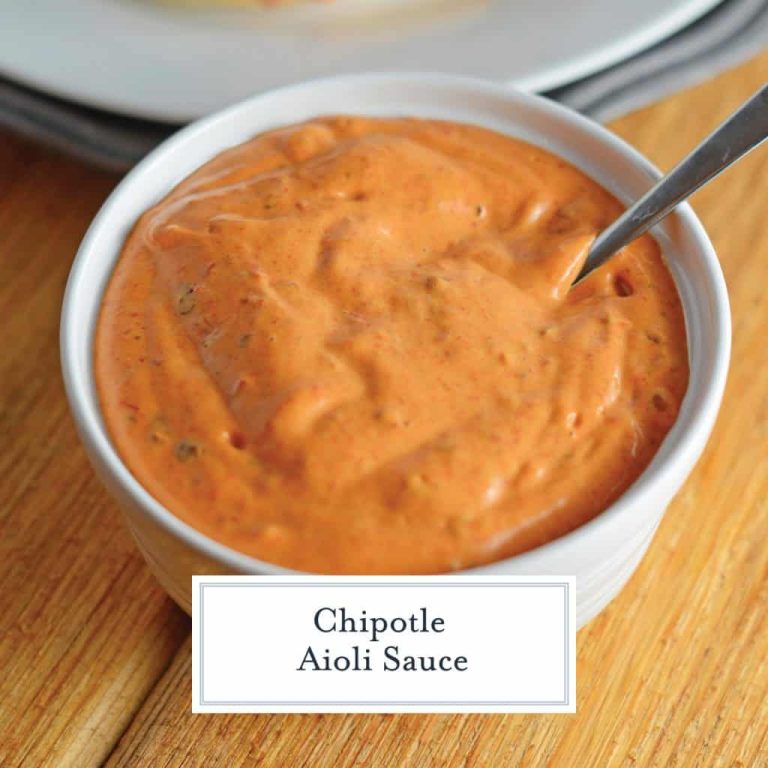
- Herb Infused Syrup: Try rosemary or thyme sprigs. Simmer for 5 minutes. Ideal for glazing meats and roasted vegetables.
Strain any solids before serving. Infused syrups add a gourmet touch to everyday dishes.
Conclusion
Making homemade maple syrup is a rewarding journey that connects you to nature and tradition. While the process demands time and effort, the result is a versatile, flavorful syrup that can elevate your culinary creations. With the right tools and techniques, you can enjoy the pure taste of homemade maple syrup, whether drizzled over pancakes or infused with unique flavors for special dishes. Embrace the challenge and savor the sweet rewards of your hard work.