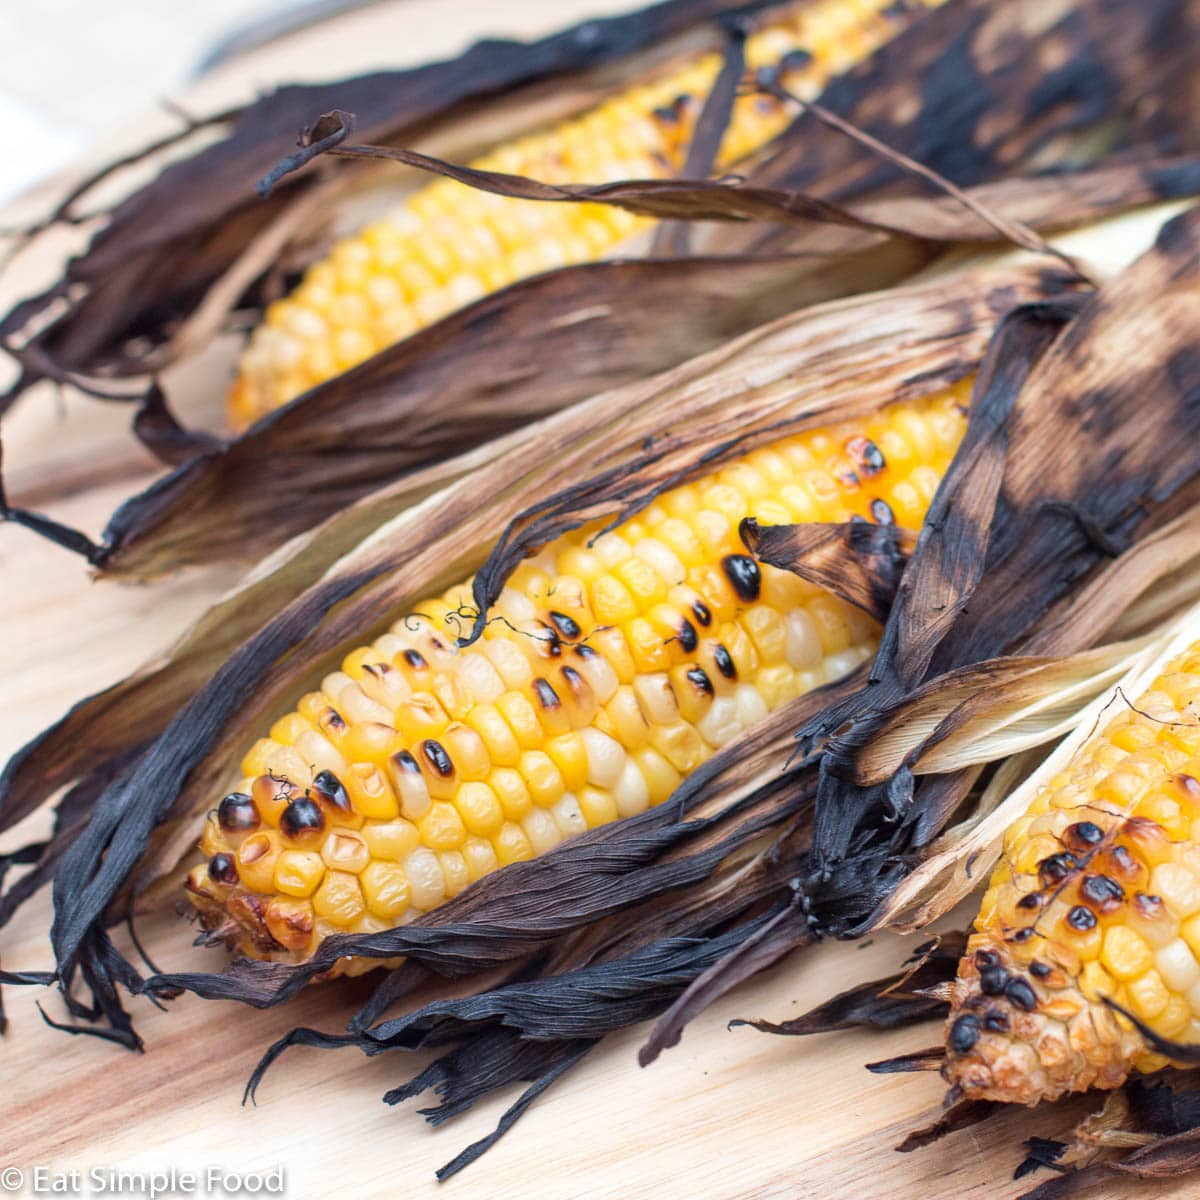
Corn on the Cob in the Husk for Perfect Flavor and Tenderness
Microwaving corn in the husk helps preserve its natural flavor. The husk acts as a barrier, keeping the corn’s sweetness and earthy taste intact. By avoiding boiling water, the corn retains its inherent flavors, which might otherwise dilute.
Keeps Moisture Intact
Cooking corn in the husk ensures it stays moist. The husk traps steam, preventing the corn from drying out. This method delivers juicy, tender kernels every time. There’s no need for additional water, preserving the corn’s natural juices.
How to Prepare Corn for Microwaving
Choosing the Right Corn
Select fresh corn for the best results. Look for ears with bright green husks and moist, pale yellow silks. Fresh corn feels firm when you gently squeeze it. Avoid ears with dry or brown husks, which indicate old corn. Fresh corn ensures tender, sweet kernels after microwaving.
Prepping the Corn
Trim the silks extending beyond the husk using a sharp knife or kitchen scissors. Remove any loose outer leaves. Wash the corn under cold running water, ensuring the husks are clean. Leave the rest of the husk intact to protect the kernels during microwaving and retain their natural moisture. Pat the corn dry with a paper towel, then it’s ready for the microwave.
Step-by-Step Guide to Microwaving Corn on the Cob in the Husk
Cooking Time and Power Settings
Microwave power settings and cooking time affect the final texture of your corn on the cob. Set your microwave to high power for optimal results. A typical microwave, operating at around 1000 watts, cooks corn in 4–5 minutes. Cooking times vary based on the microwave’s wattage.
For 1 ear of corn, cook for 4 minutes.
For 2 ears of corn, cook for 6–8 minutes.
For 3 ears of corn, cook for 10–12 minutes.
Ensure you turn the ears halfway through the cooking process. This step promotes even cooking and prevents cold spots.
How to Check if It’s Done
Properly cooked corn on the cob has bright yellow kernels that are tender when pierced. To check if your corn is done, gently squeeze the husk with oven mitts. It should feel hot and slightly soft. Peel back a small section of husk to check the kernels’ color and tenderness.
If the corn isn’t fully cooked, microwave for an additional 1-2 minutes, then check again. Avoid overcooking, as it can make the kernels tough. Follow these steps for perfectly cooked, juicy corn every time.
Tips and Tricks for Perfect Corn Every Time
Adding Flavor Enhancers
Enhancing your microwave corn’s flavor can elevate its taste. While the husk helps retain natural sweetness, butter, spices, and herbs can add extra layers of flavor. Brush the kernels with melted butter and sprinkle with salt and pepper immediately after cooking. For a spicier kick, add paprika or cayenne pepper. Fresh herbs like cilantro or parsley also work well. Squeeze lime juice on the corn before serving for a tangy twist.
Post-Cooking Handling
Handling the corn correctly post-cooking ensures the best texture and flavor. Remove the husk by cutting off the stalk end, then pulling it away with the silks. Be careful as the corn will be hot. Use a towel or oven mitts to protect your hands. Let the corn cool for a few minutes, allowing the steam to escape and the kernels to firm up. Serve it warm, either on the cob or by slicing the kernels off with a sharp knife for salads and other dishes. Proper handling secures the tenderness and juiciness of the corn, making each bite delicious.
Common Mistakes to Avoid
Microwaving corn on the cob in the husk is straightforward, but several common mistakes can hinder the results.
Overcooking the Corn
Overcooking leads to tough, chewy kernels. Microwave fresh ears for about 4 minutes per cob; adjust timing based on your microwave’s wattage.
Skipping the Cooling Step
Handling hot corn immediately after microwaving risks burns and disrupts texture. Let it cool for 1-2 minutes before removing the husk.
Inadequate Husk Trimming
Leaving excess silk or broken husks can cause uneven cooking. Trim loose silk and ensure the husk fully covers the kernels.
Not Adding Seasoning Post-Cooking
Neglecting to season immediately after microwaving misses peak flavor absorption. Add butter, salt, and preferred spices while the corn is still warm.
Using Old Corn
Fresh corn is essential for optimal taste and juiciness. Ensure the ears purchased have bright green husks and moist silk.
Improper Husk Removal
Removing the husk without waiting can tear the kernels. Peel it back gently after the cooling period to ensure no husk remnants remain on the corn.
Microwaving Without Rotation
Rotating the corn halfway through cooking ensures even heating. For even results, rotate the cob 180 degrees midway.
By avoiding these common mistakes, you’ll achieve tender, flavorful corn on the cob every time.
Conclusion
Microwaving corn on the cob in the husk is a game-changer for quick and delicious results. By selecting fresh ears and using the husk as a natural wrapper, you ensure juicy and tender corn every time. Remember to trim the silks and add your favorite seasonings post-cooking for an extra burst of flavor. Avoid common pitfalls like overcooking or skipping the cooling step to maintain optimal texture. With these tips, you’ll enjoy perfectly cooked corn on the cob that’s both flavorful and easy to prepare.